 |
||||
|
|
||||
CEDU Award #9 For answering the call...
It is with great pleasure that the CEDU Recognize and Present the "Honors of the Association" Award to the following individual for outstanding achievement in the Design, Construction and Use of HomeBuilt Closed Circuit Rebreathing Apparatuses. Stan Henning |
||||
| This award was a reason to contact Stan
Hessing about his home build rebreather. Stan build a MCCR (manual
controlled closed circuit rebreather) completely from off the shelf parts,
mainly sewer pipes and car tyres. I am very pleased with his permission to
add this unit to my homebuilder section. Thanks Stan! I also want to thank Dr. Bob of CEDU who helped getting in contact with Stan. His excellent website offers a great source for homebuilders. Check out: CRESTLINE EXPERIMENTAL DIVING UNIT |
||||
|
I got certified on open circuit in 1974 when I was fifteen
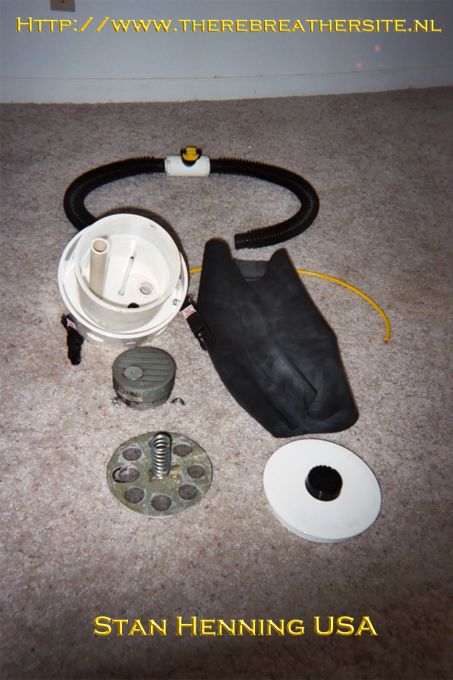
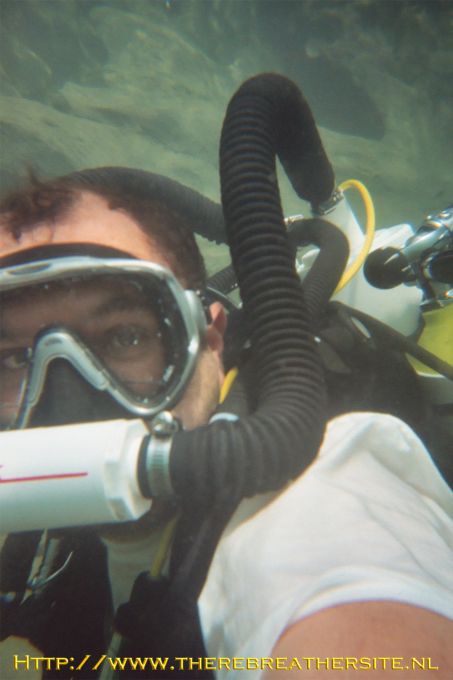
years old.... Except for Mark Monroe's PPO2 display everything is completely off the shelf and was built or installed with ordinary tools...
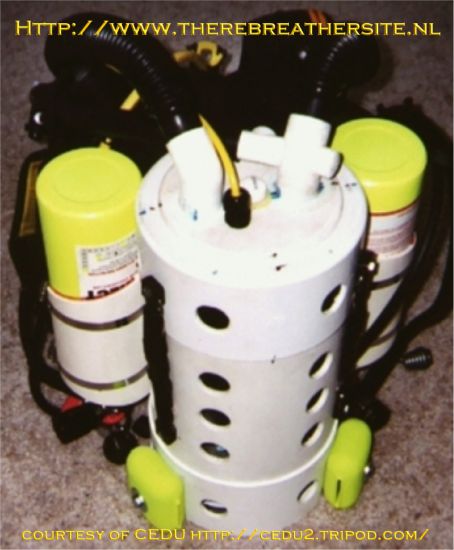
The counter lung is an inner tube from a pick up truck tire.
The scrubber unit and it's surrounding case as well as the tank mounts and
counter lung enclosure are sewer pipe PVC from the local plumbing store...
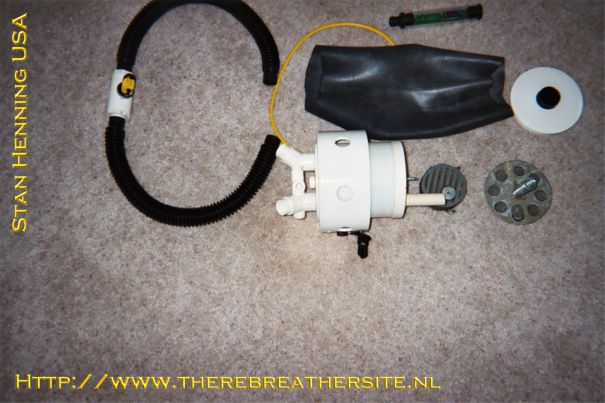
The hoses from the addition valves to the loop are just BC
inflation hoses that are attached to modified BC inflation valves. I used
two first stage regulators from open circuit rigs to cut the initial
pressure from the tank down to the loop. I went to the local welding
supplier and bought two welding respirator masks and took the check valves
from them then used more PVC plumbing to manufacture my mouthpiece. I bought
the breathing hoses from Pat at Oxycheck.
|
||||
| Here is amore technical description of the unit, complemented with some decisions made during the design phase. | ||||
|
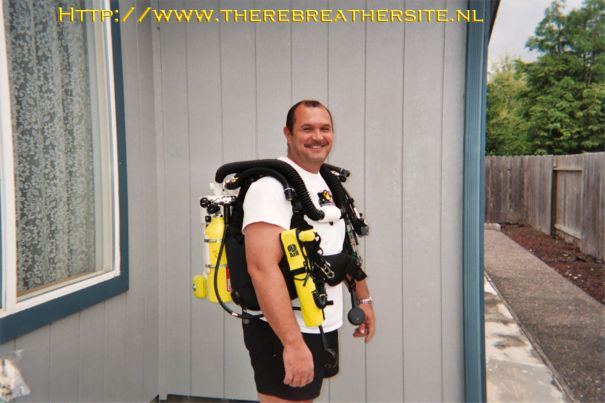
I chose to make a back mounted rebreather because I wanted to make it from
parts that were all readily available and also convenient.....Using an
existing BC gave me the chance to not only use it as a buoyancy
compensator but meant that I could use it as a mounting platform for
everything from retractors to my PPO2 meter display. Also having it back
mounted I can take the thirteen foot tanks out of the holders in just
minutes and put in thirty foot tanks....Theoretically.. without changing
the way the unit will fit on my body.....Plus, most important....LOL I
wanted it to look cool and in my opinion .....my particular design just
looks better worn on the back.....I also spend most of my time when I'm
diving on either my stomach or knees.....usually my knees
motionless.....Just a habit I guess but I don't move around a lot during a
dive.....I'm usually aiming at something or waiting to aim at
something....LOL So the back mount is just better for the diving I
do....
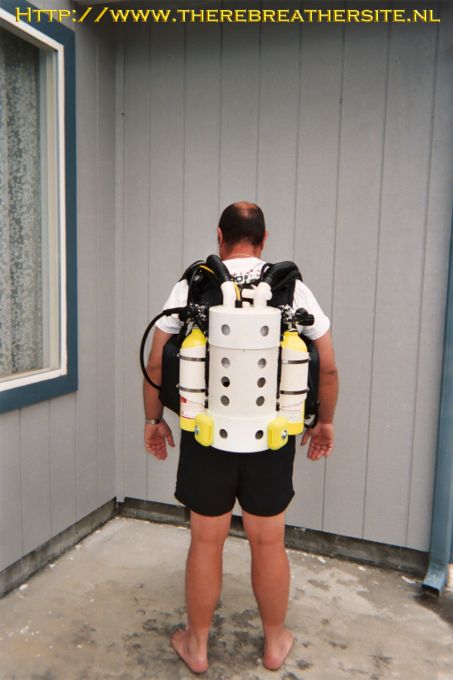
Of course being back mounted I can feel some slight WOB when inhaling
on my stomach but no WOB is discernable at all when on my knees.....I'm
sure that not only is that due to the counterlung being level with my
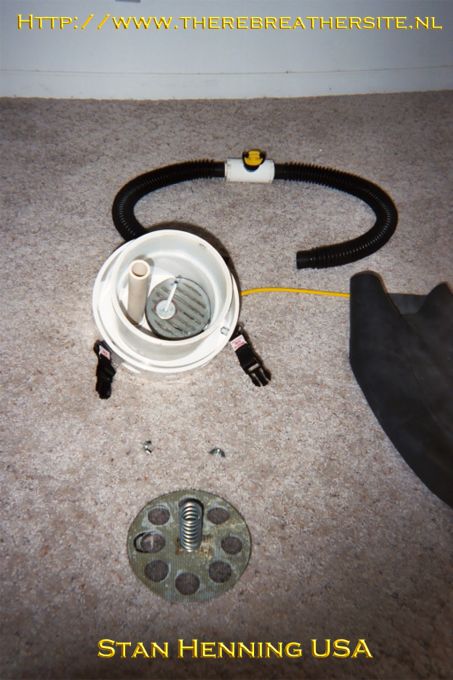
lungs when I am vertical but also because I made the scrubber unit seven
inches in diameter ...Not only to lower WOB but to slow the gas passing
through the scrubber material.....Hoping to preclude Hypercapnia during
heavy work loads.....In fact during the first test I jogged in place and
did other exercises for an hour and not only was there no discernable WOB
but there turned out to be no need for baffles in the scrubber and after
disassembly I found a very nice and even pattern of use in the
sofnolime....I originally put a BC over pressure valve in the bottom of
the counterlung hoping to be able to purge water by just over pressurizing
the loop.....but have yet to get it to work right.....and have.... in
fact..... removed it.....
I had some challenges with the actual construction.....I found that
just using PVC glue in the conventional manner was a guarantee for
leaks.....So I developed a way of gluing.....allowing to dry and gluing
again over and over again that .....at least so far.....has provided
strength and is water proof......and of course there seemed to be an
extended period of time waiting for the glue to outgas.
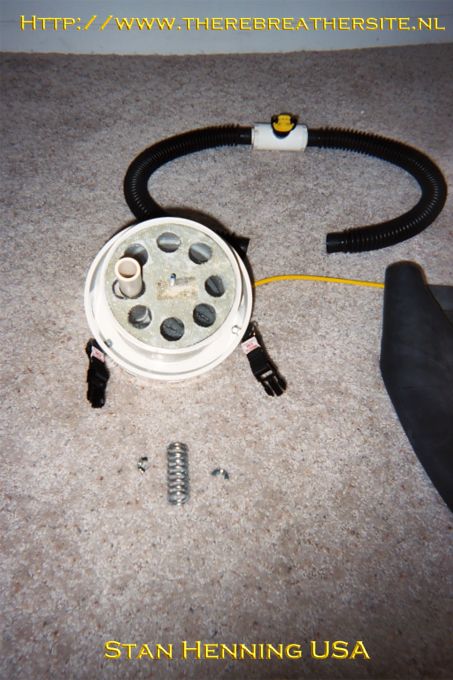
The actual design of the scrubber unit is a little frustrating when
it's being assembled but having the exhaust go down through the scrubber
into the counter lung saves a lot of plumbing and made the unit more
stream line and compact...it also.... in my opinion....allows the gas a
chance to mix ....at least a little.... from the time it's added at the
tee into the exhaust tube and is forced to travel into the bottom of the
counter lung before it travels up into the scrubber material and pass the
O2 sensor then into the intake hose....I had hope that this arrangement
would provide....at least some..... protection against "Hot spots" in the
mixture...
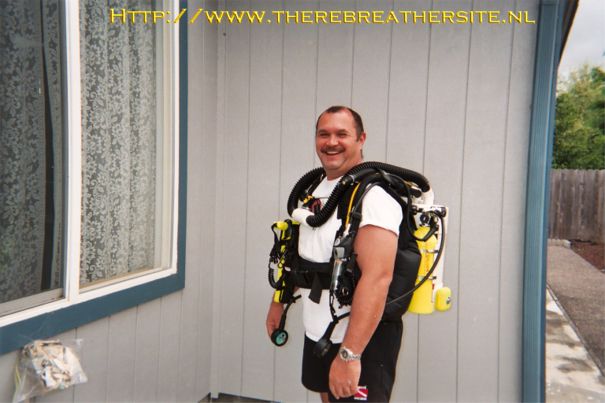
I had originally wanted the addition valves to be mounted...on the
BC.....on my chest.....which they are when not wearing a wetsuit but with
a wetsuit the BC inflation hoses I used for addition hoses are just a
little short and the addition valves end up a little higher than I
wanted....I'll probably fix that later....
To make addition valves I bought BC inflation valves and cut off the
oral inflator portion and plugged the hole with a piece of PVC and epoxy
it in place....then used the power inflator portion to provide addition
gases to the loop....
The O2 sensor is under a screen and just before a filter at the top of
the scrubber unit ....I put it there hoping that the closer it was to my
mouth the more accurate the reading of what I am actually breathing
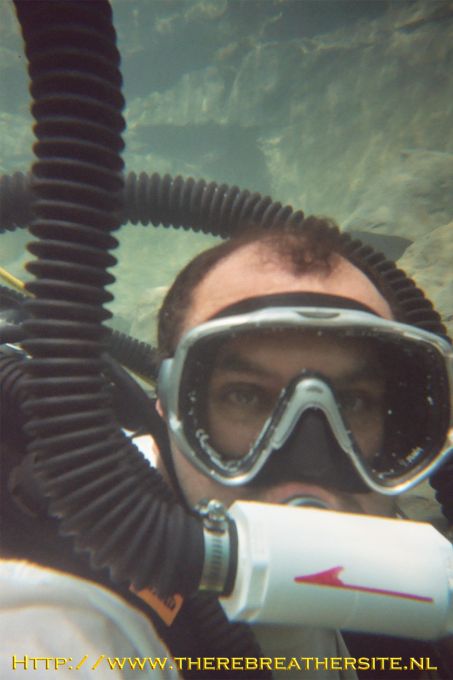
After thirty minutes in cold water condensation starts to build up in
the mouthpiece and makes a noticeable gurgling sound......something else
to improve on later.....
Without a weight belt in fresh water the unit is a little to light so I
added the two yellow five pound weights you see in the photos and it's
still just a little light....
|
||||
 |
||||
 |
||||
 |
||||
 |
||||
 |
||||
 |
||||
 |
||||
 |
||||
 |
||||
 |
||||
 |
||||
| Stan; Thank you for your contribution to my website! | ||||
| You can reach Stan here | ||||
|