 |
||||
|
|
||||
|
George Kamarinos from Greece has been diving rebreathers for several years. He rebuild a RG-UF/M an modified several parts for his purposes. Check out earlier publications: |
||||
| NOW UPDATED CHECK END OF PAGE | ||||
| George now build a MCCR with parts of Tecme Germany, Hydrogom Netherlands and used Dave Suttons ideas for the conversion. Here is a photo impression. | ||||
| Questions about this configuration can be asked to George using email , George thanks for contributing! | ||||
 |
||||
|
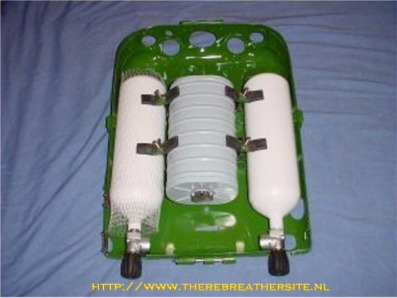
The rig has been completely disassembled and all components removed. The four butterflies and their base have been moved and centered. The chassis was cut to accommodate for the tank valve handles |
||||
 |
||||
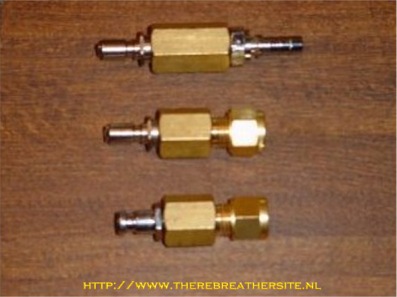
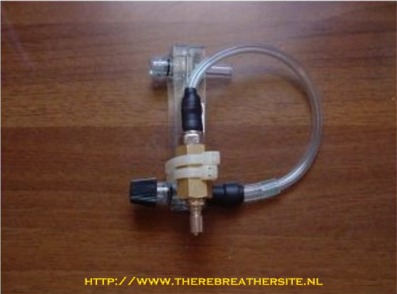
| The top component is the connector for the flow meter. The middle connector is for the O2 feed and the bottom one is used for diluent. All connectors are QDs found in BCs and dry suits. | ||||
 |
||||
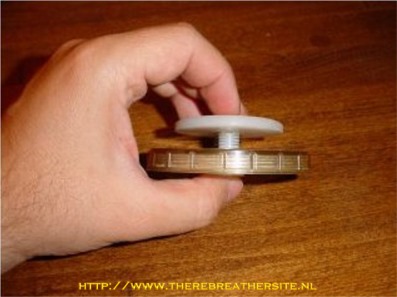
| The ADV bypass made of ertalon. The axis goes through the center of the cap pressing the ADV diaphragm to activate it. | ||||
 |
||||
| The ADV bypass installed. Diluent is injected in the bag by pressing on the white disc. On the top right you see the exhaust hole from the CL OPV. | ||||
 |
||||
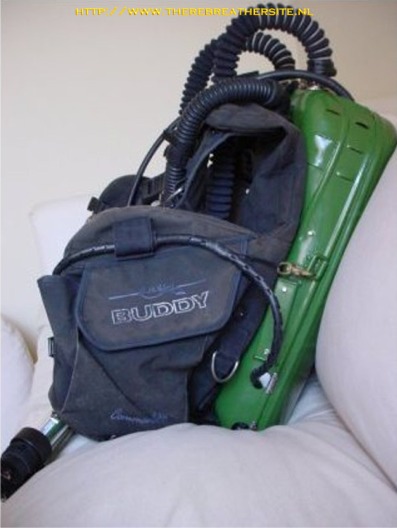
| The assembled rig. I used an old Buddy Commando BC that fits just perfect. The ppO2 meters come out of the rig from the LHS. To avoid strain on the handsets, I used some Kevlar string that was cut a bit shorter than the cables. This way, the Kevlar stretches first taking the strain instead of pulling on the cables. | ||||
 |
||||
 |
||||
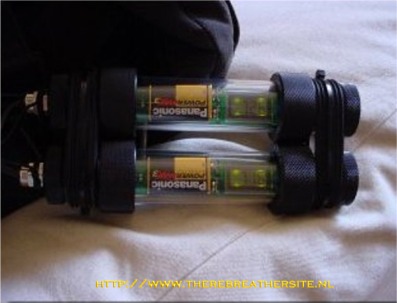
| The two ppO2 monitors from Martin (www.tecme.de). Good quality of manufacture and reliable design. The LCD backlight is on in this pic. | ||||
 |
||||
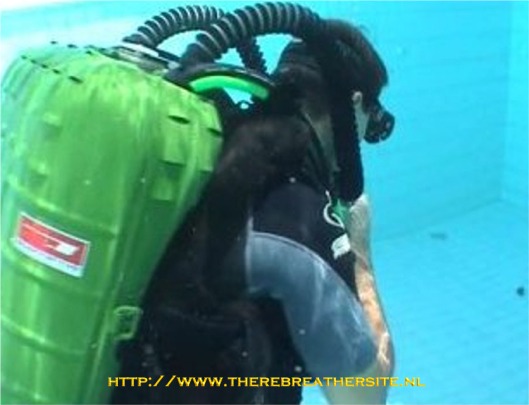
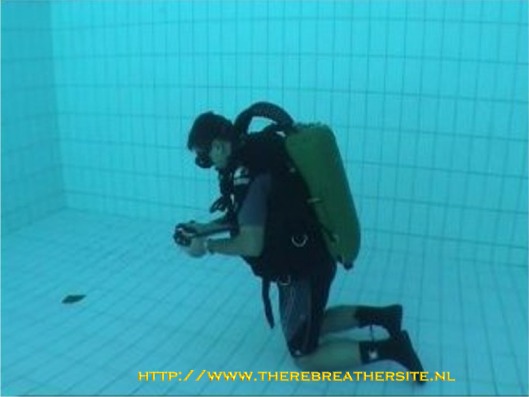
| First few moments in the pool. Immediate feedback: everything works just great! The only problem is with the mouthpiece. The hose layout is meant for an FFM so in its current state this makes it very uncomfortable for long dives. | ||||
 |
||||
|
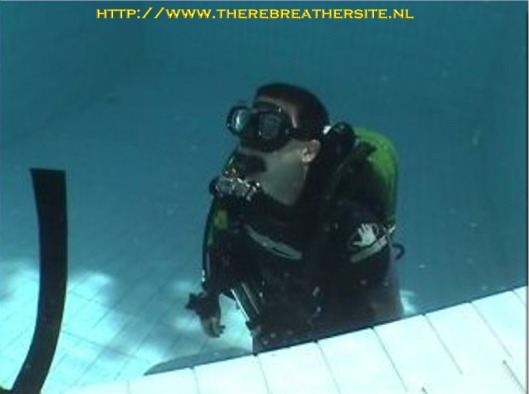
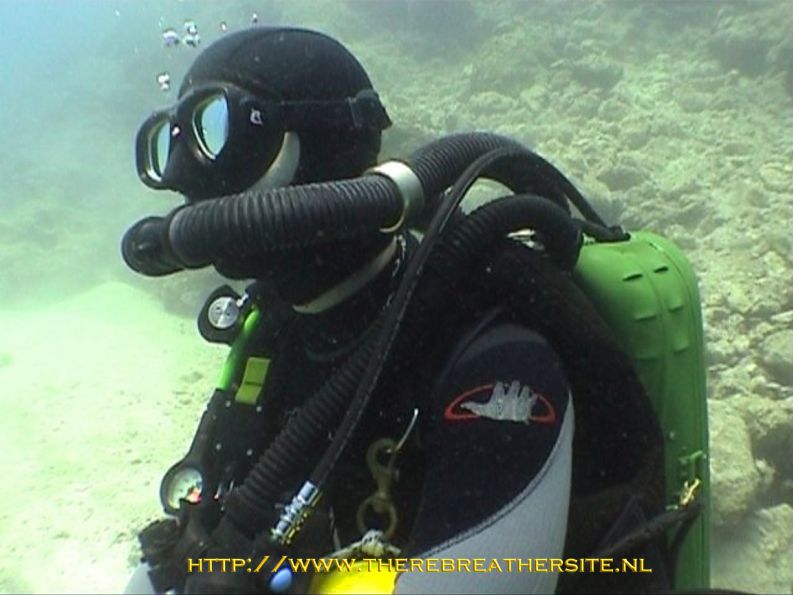
Testing and drills in the water. Reading the ppO2 meters. the rig is slightly negative and rests very well on the diver's back. |
||||
 |
||||
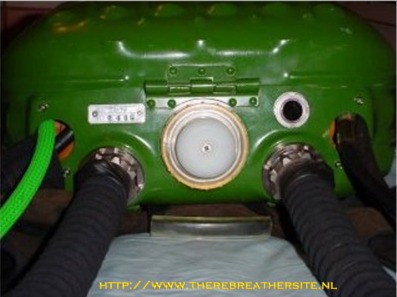
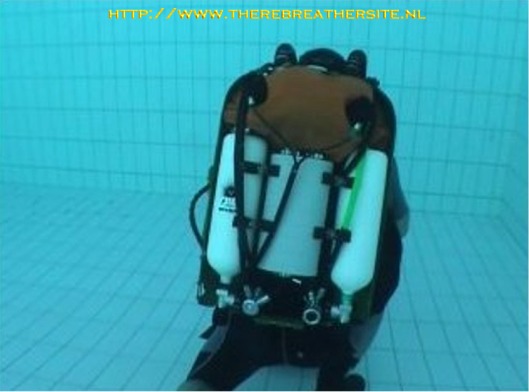
| Testing for leeks. The counter lung is visible with the two P-connectors for the sensors. The scrubber canister sits in the center and the O2 tank is on your right. The left tank contains diluent (air). | ||||
 |
||||
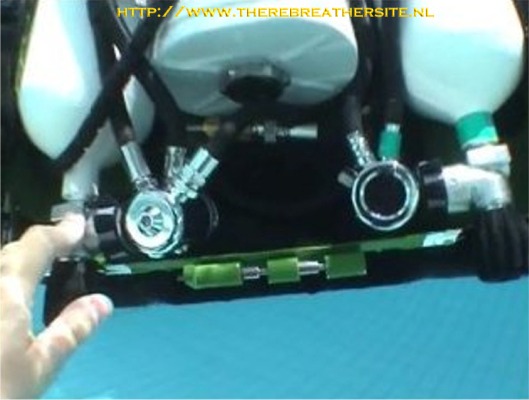
| On the LHS sits an Apeks DS4 for DIL addition. The DS4 on the RHS has been blanked off and the IP raised to 11 bar. You can also see the OPV fitted. | ||||
 |
||||
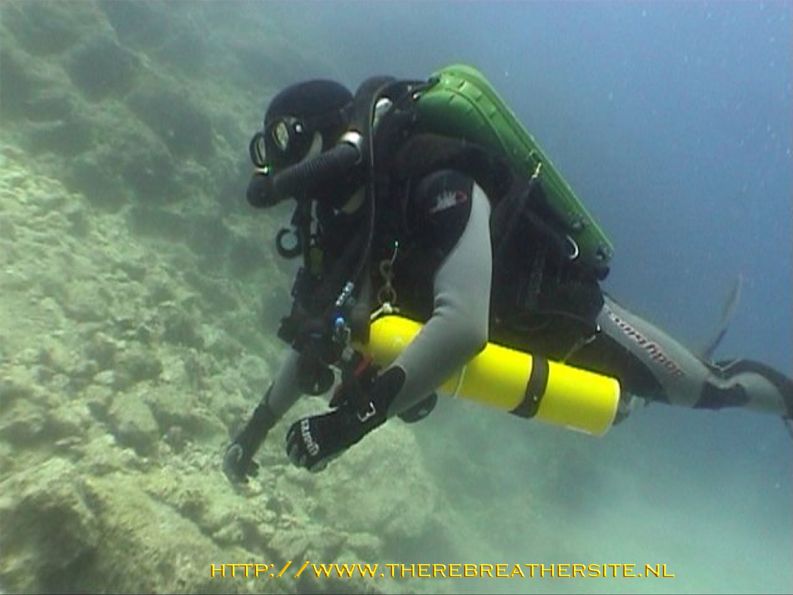
| The pool testing is complete and the new rig is ready to dive at sea! | ||||
| UPDATED SEPTEMBER 2005 | ||||
|
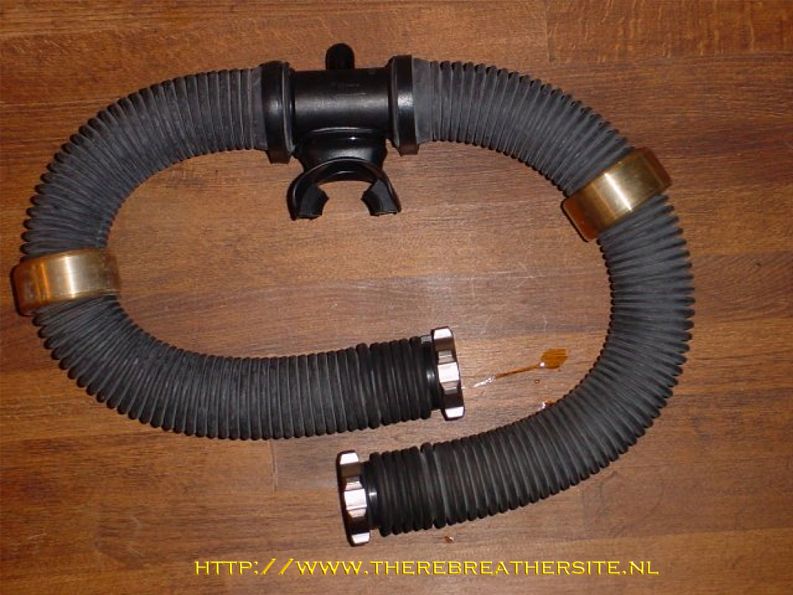
Since the last update I sent you and after some trials I decided to do some more changes to the rig. I bolted 4kg of lead weight on the inside of the IDA cover where the CL is, for better trim. I also got rid of the original Russian hoses and DSV and replaced them with a DSV from a Dräger Ray. The hose needed some adaptors to be machined plus some brass hose weights. In the photos, you also see the one of the hose stiffener rings I added. I dived the rig to 45m for 115 minutes yesterday. I am extremely happy with it – I had no problems maintaining a constant ppO2 in the loop. The only drawback this rig has is the lack of an efficient water trap (yet).
|
||||
 |
||||
 |
||||
 |
||||
 |
||||
|